
LIFX smart bulb disassembling
I decided to dissect my broken LIFX LED bulb before throwing it away. Just in case someone is interested to know what’s inside.
20 June 2015 at 22:11 CEST
No Comments
My LIFX smart bulb has given up the ghost. Before bringing it to my local recycling center I decided to disassemble the bulb. Perhaps someone would find it useful to have a look inside this smart bulb.
Despite the bulb’s short life, I still believe in the LIFX team. Probably my unit suffered some youth defects. I proudly backed their Kickstarter campaign and this bulb belonged to the first production batch. Surely I’m a little disappointed – I’m not blaming them, though. Stuff happens. I’ve already replaced the bulb with another one. So far so good. Hope this one will last over 22 years as they claim. 🙂
Here’re steps to disassemble the smart bulb.
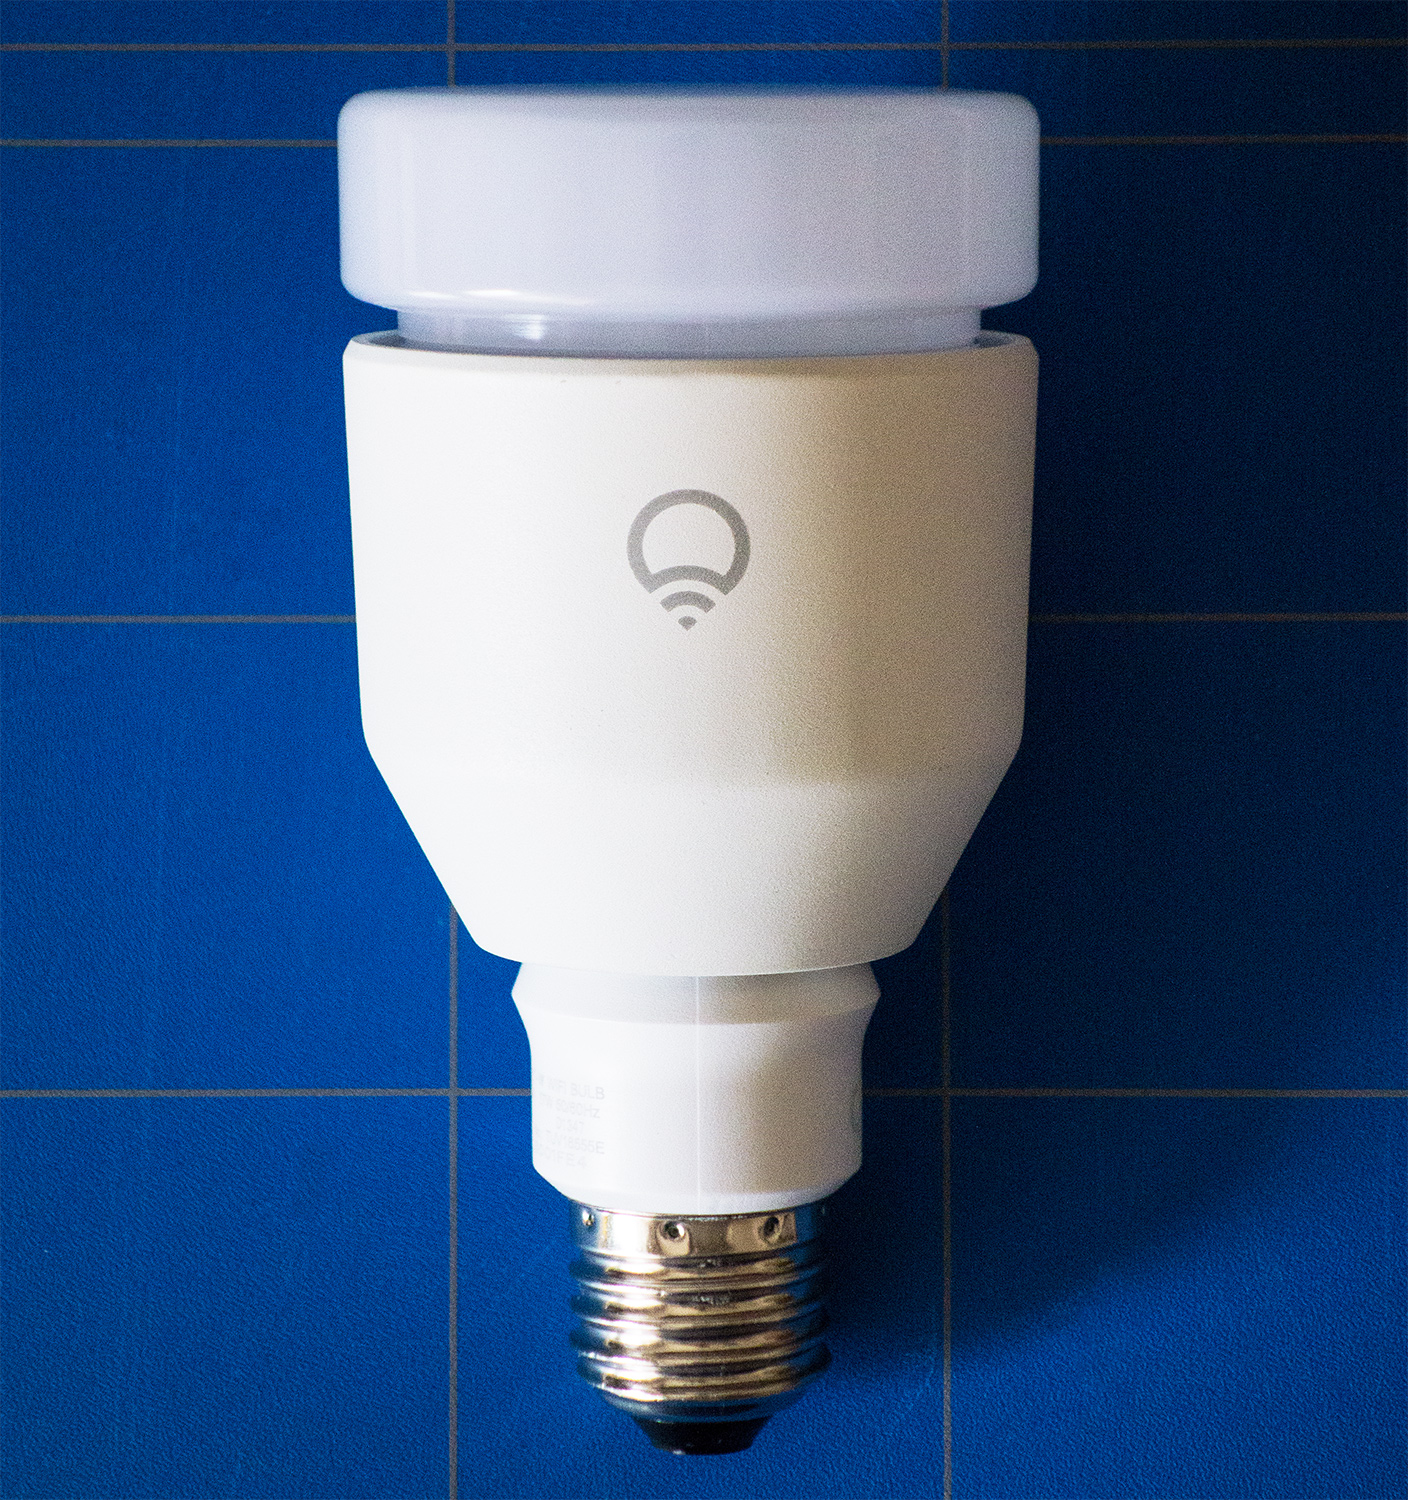
The LIFX bulb.
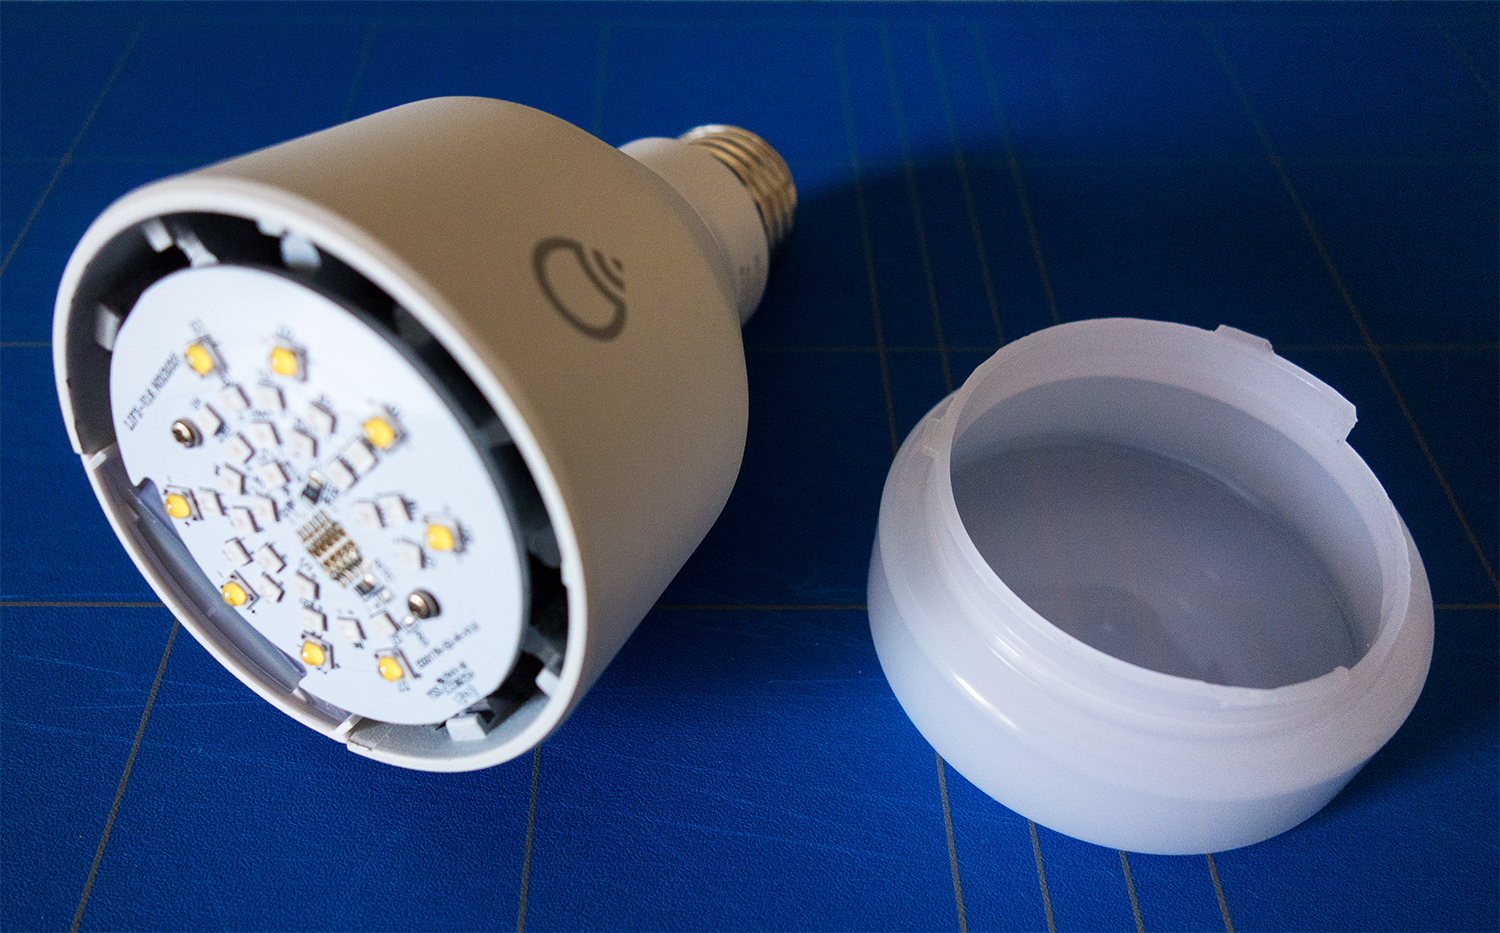
Grab the plastic diffuser, rotate clockwise and rise to unscrew it from the bulb.
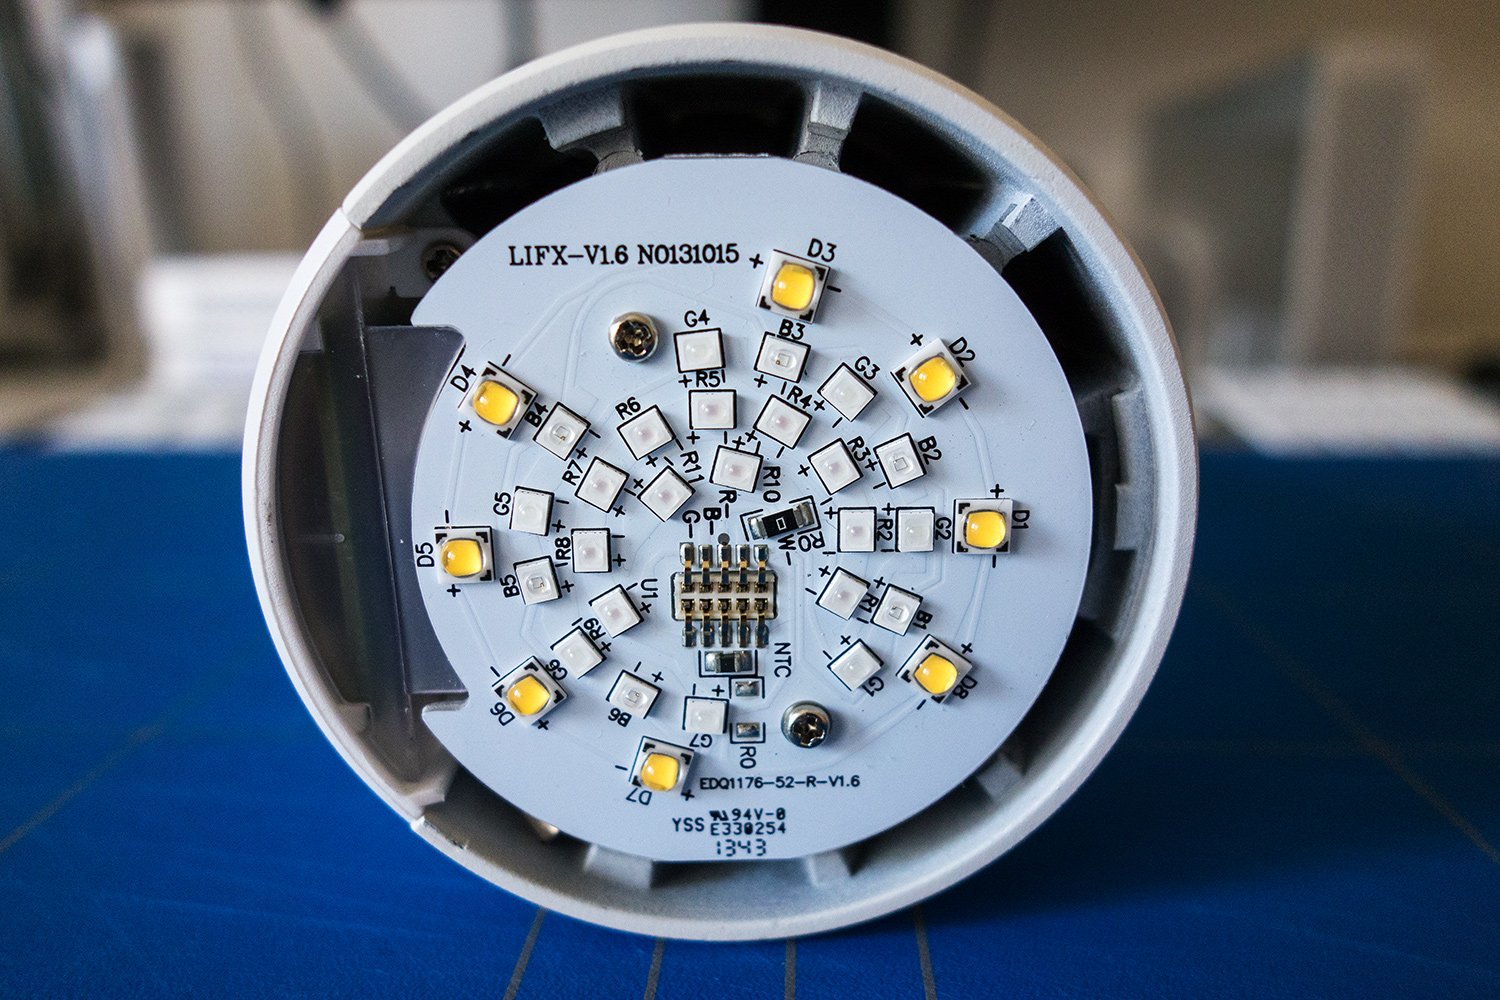
The LED board under the diffuser.
Unscrew two Phillips screws to remove the LED board. Between the board and the body of the bulb it’s a layer of thermal paste. The bulb, in fact, act as a heatsink.
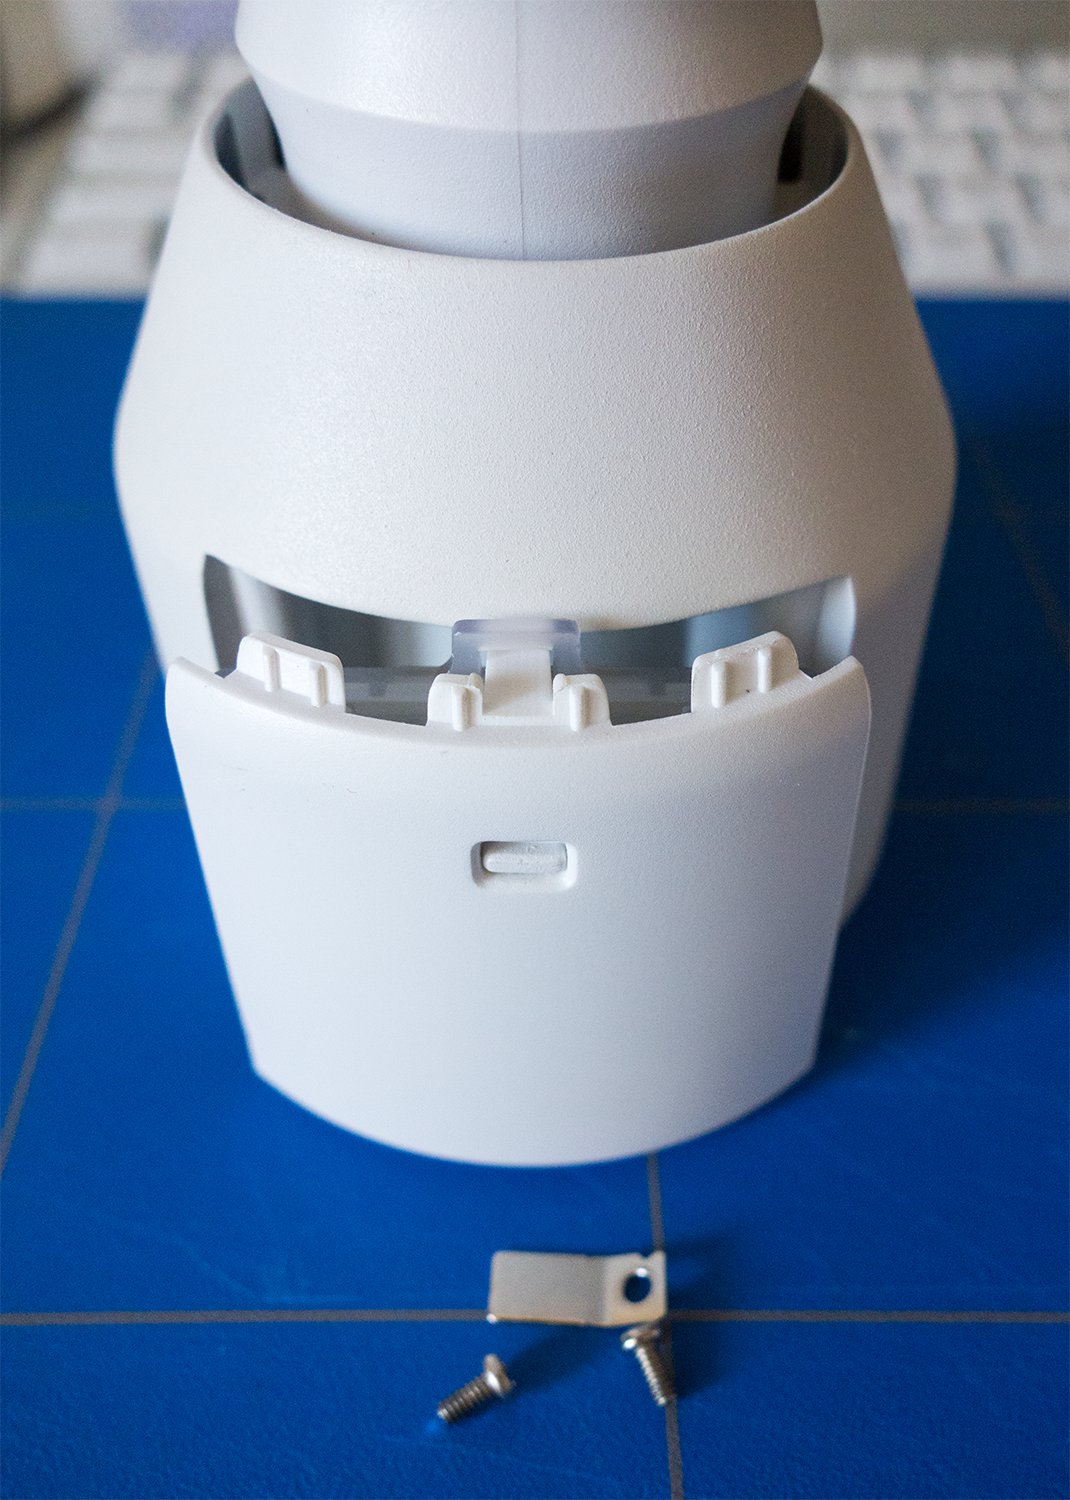
Unscrew another two smaller Phillips screws near the plastic side panel containing the reset switch to separate it from the bulb.
Unlock the semi-transparent plastic cover to access the multipin connector. Remove the little cap covering the connector as well.
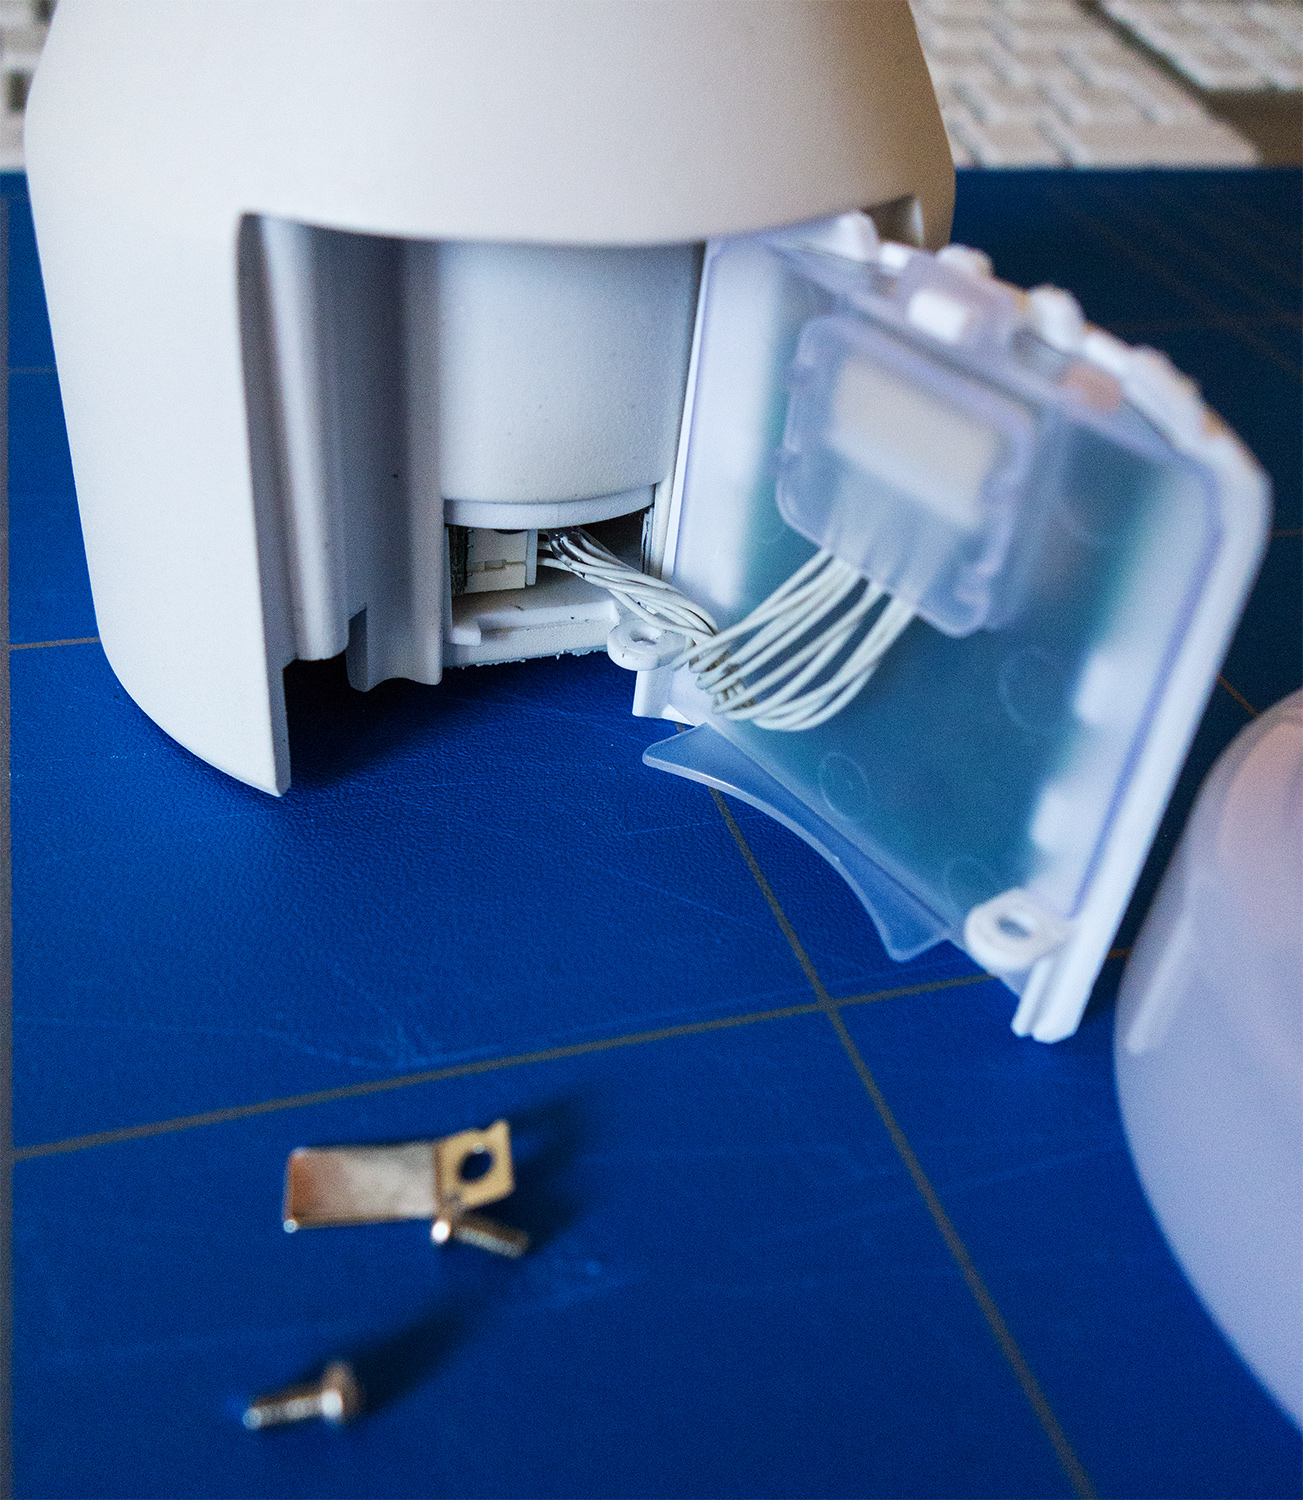
Release the multipin connector and pass it through the aperture on the plastic cover.
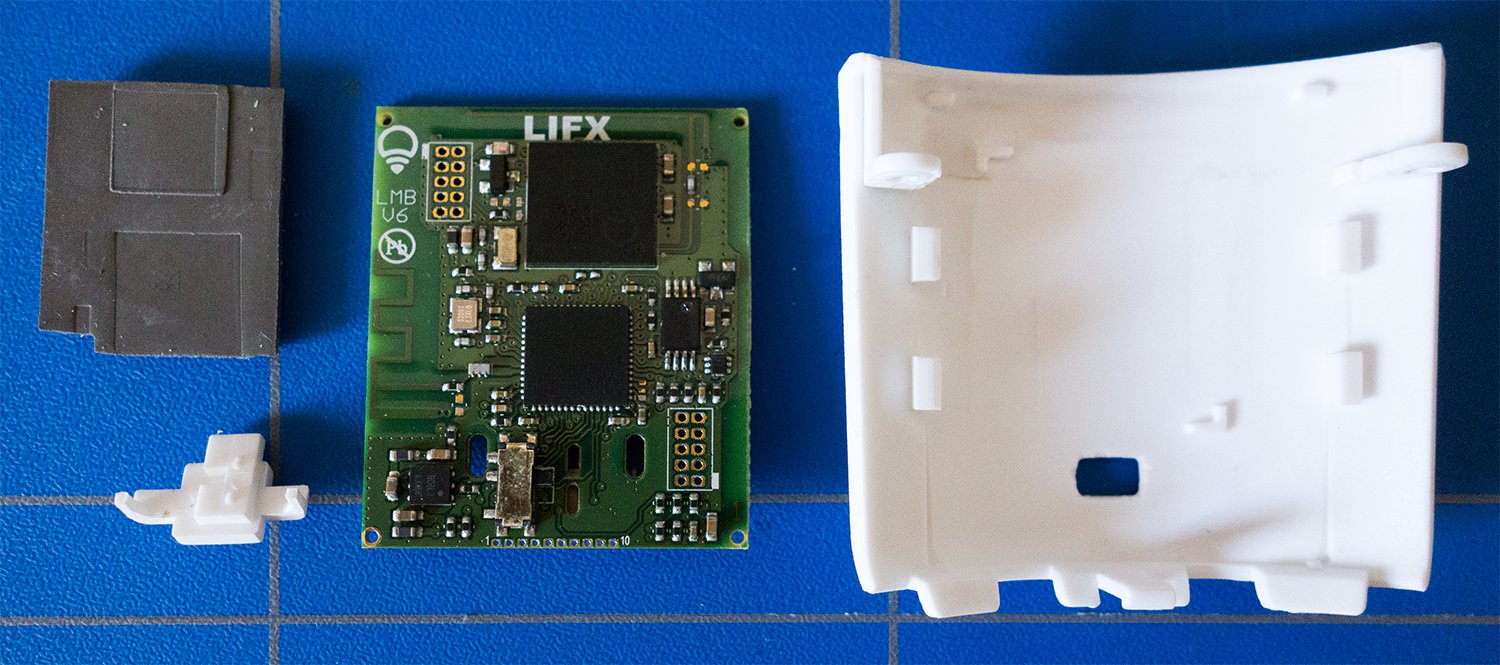
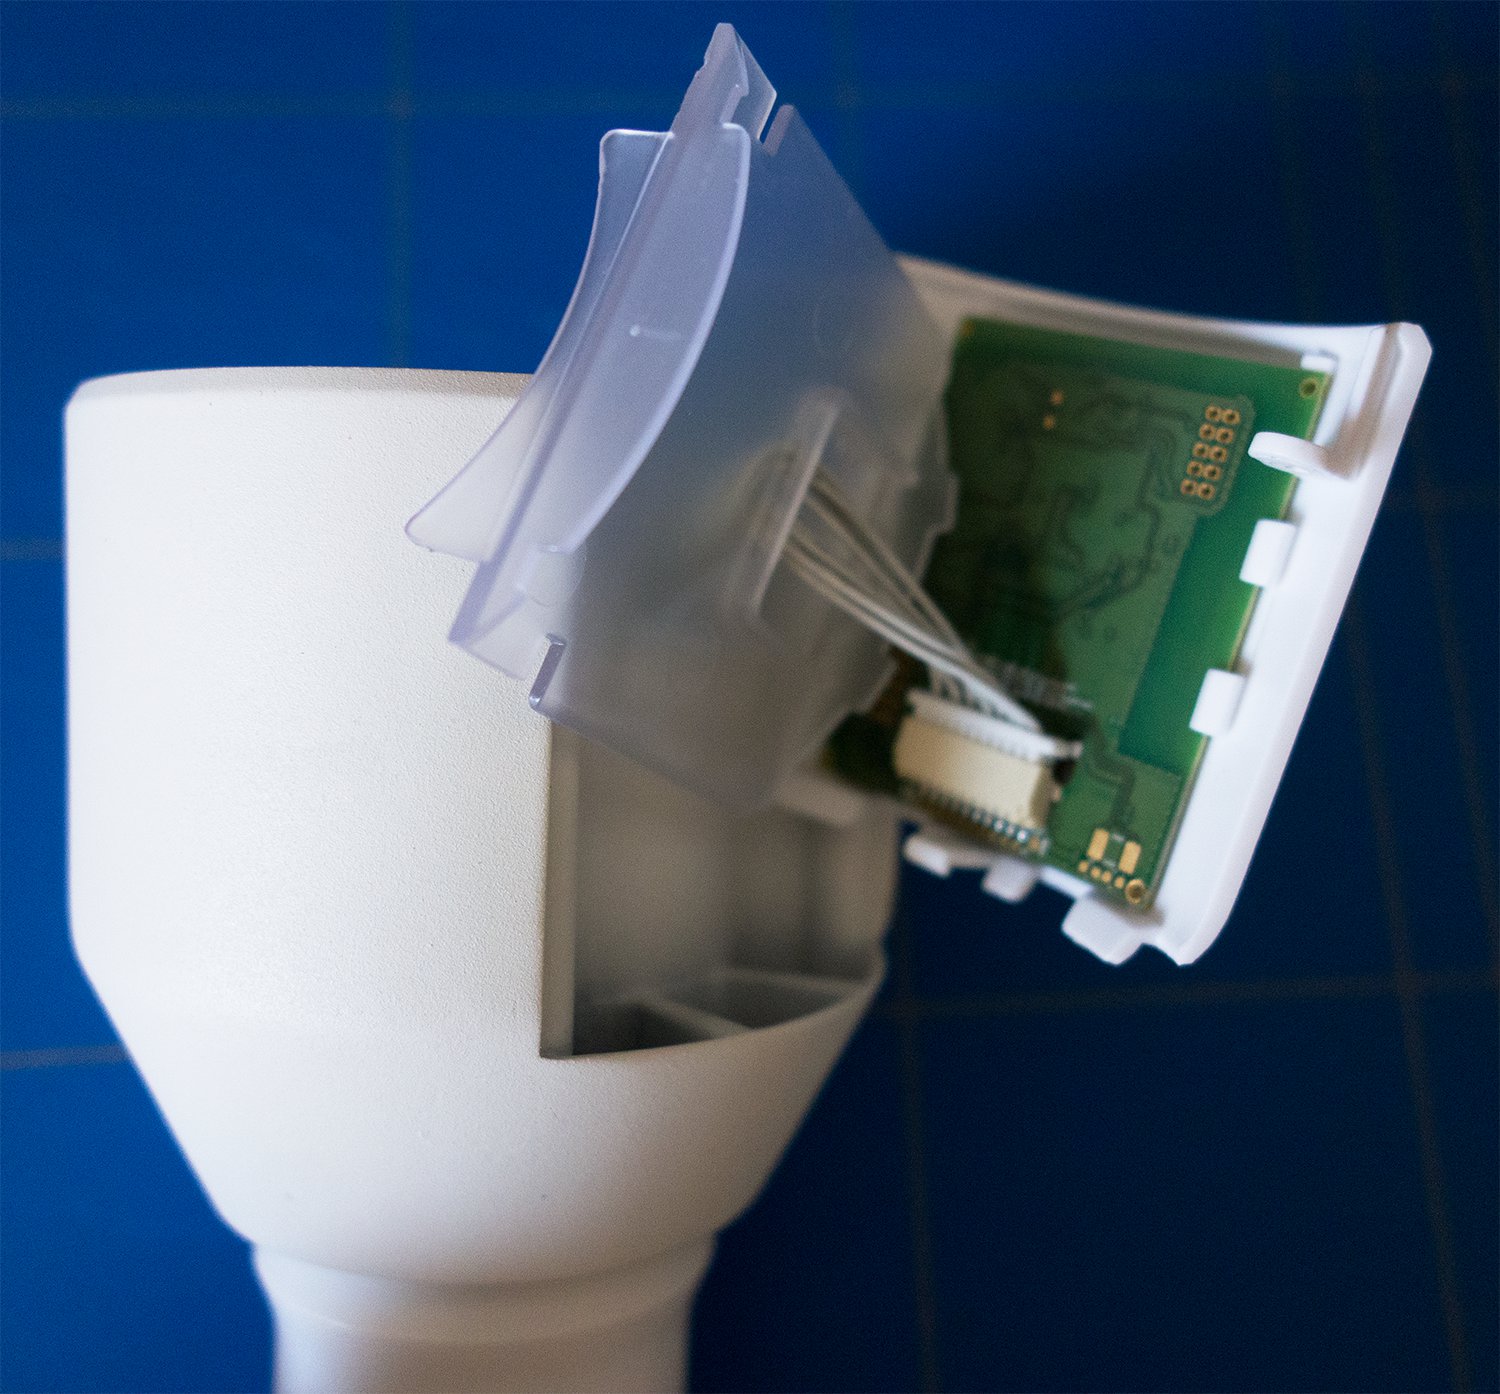
The reset switch panel taken apart.
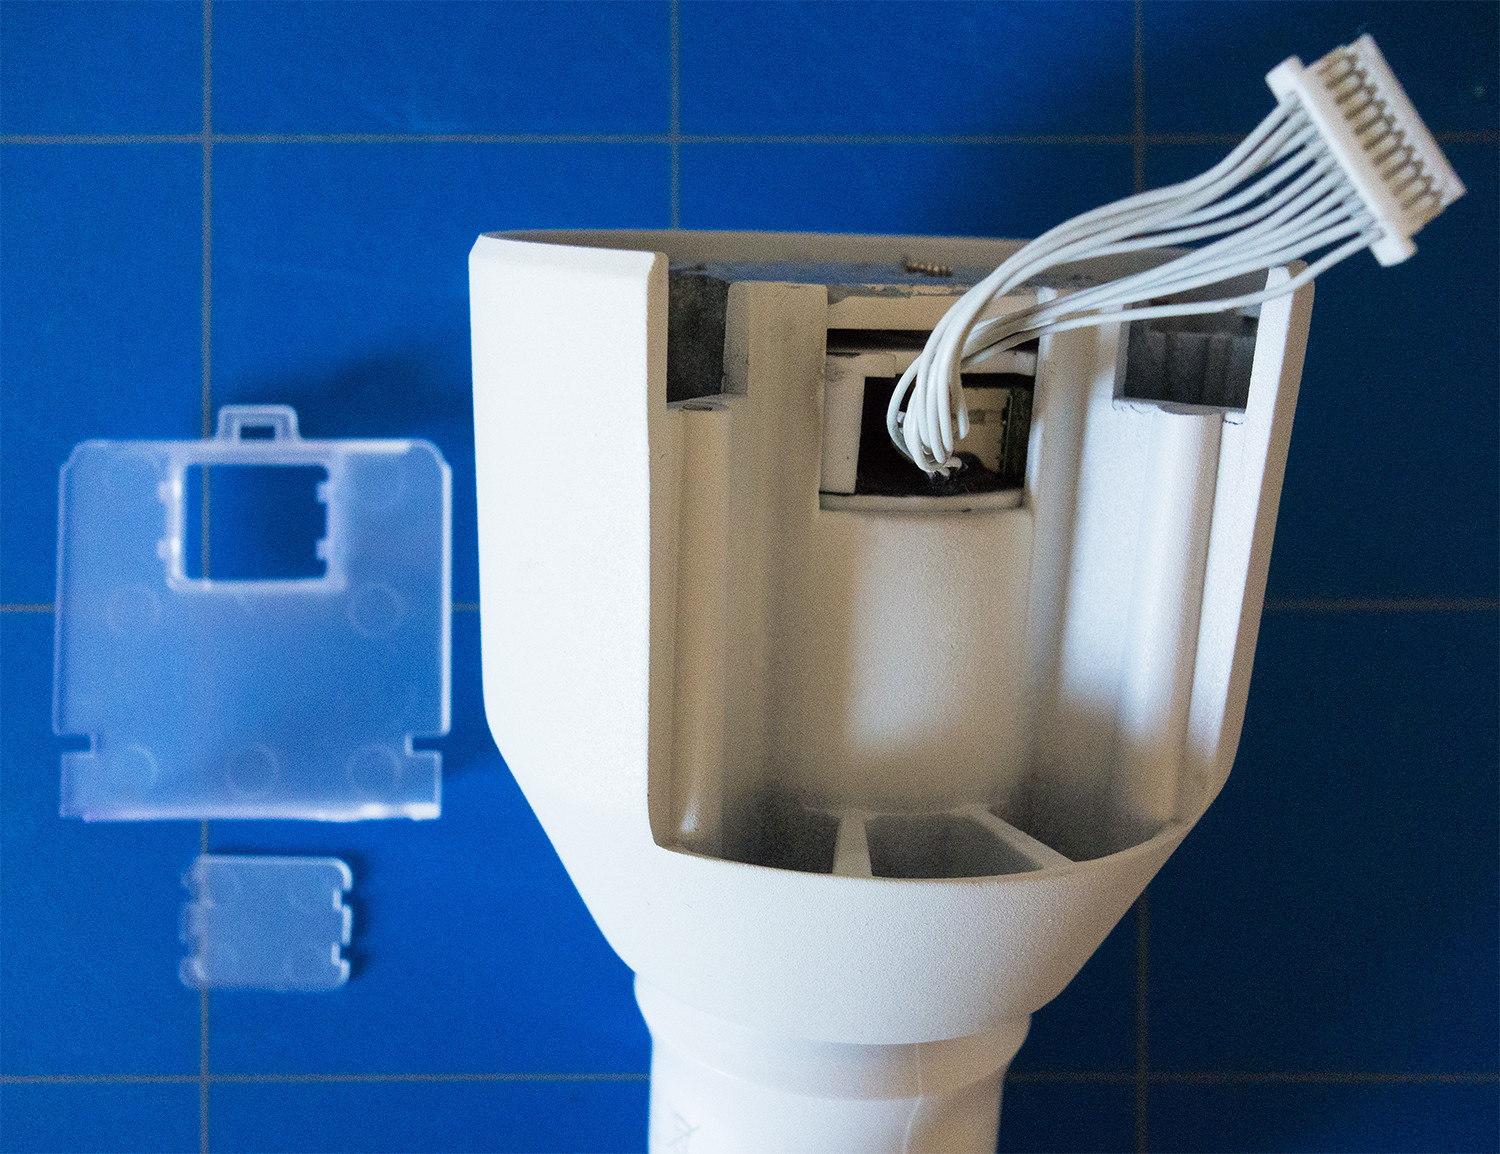
The released multipin connector.
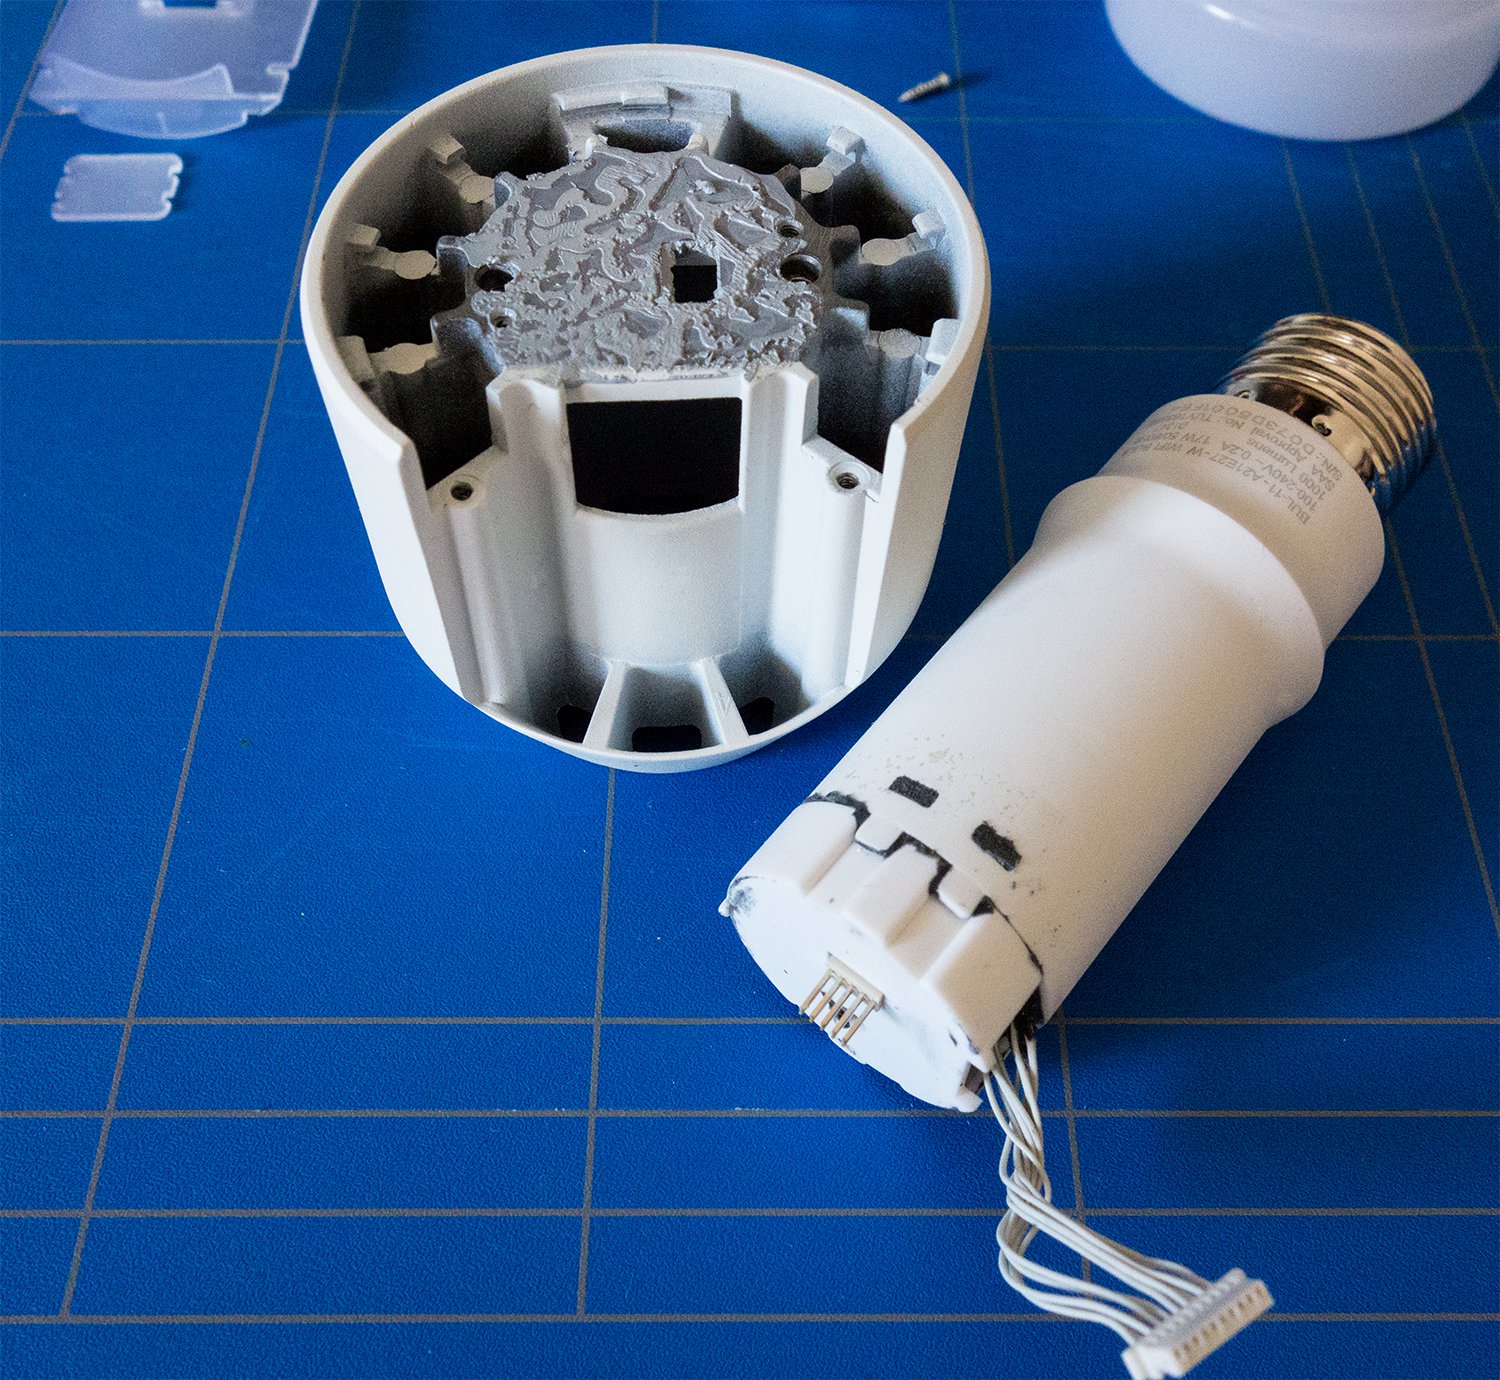
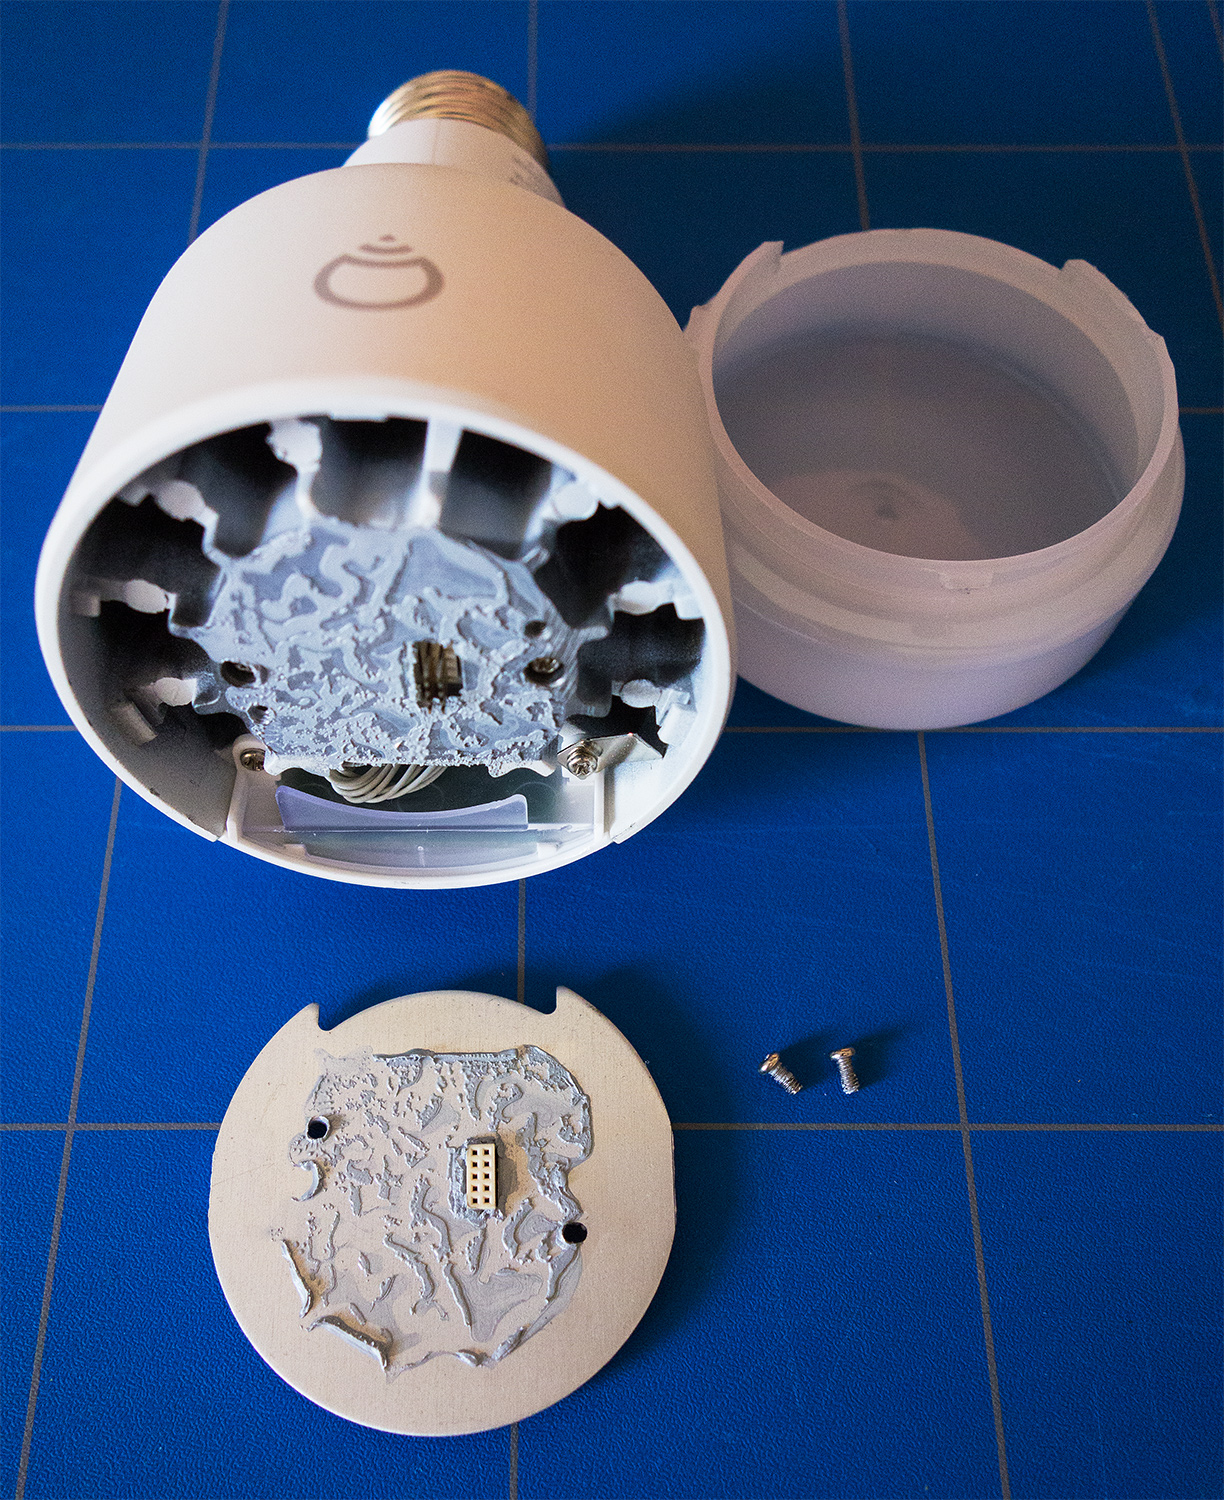
Extract the bulb screw block from the heatsink.
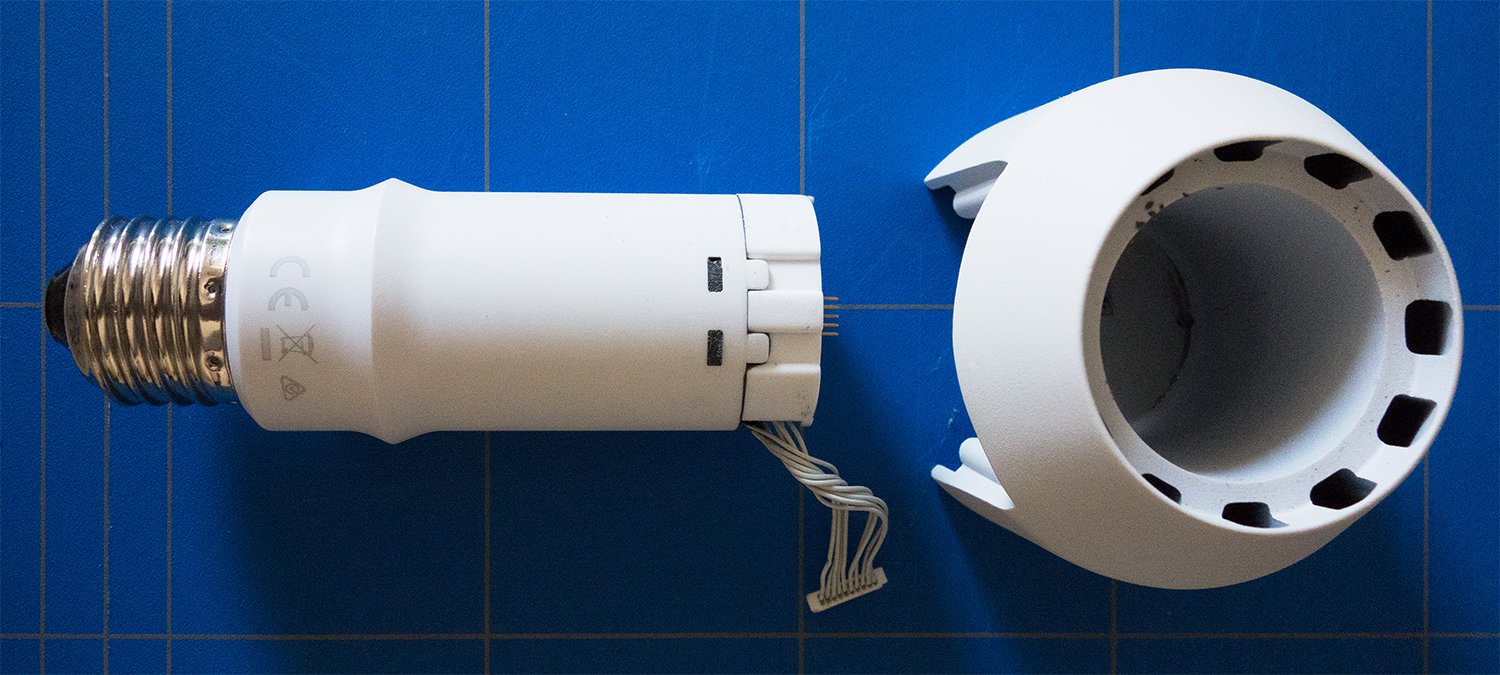
The bulb screw block and the heatsink.
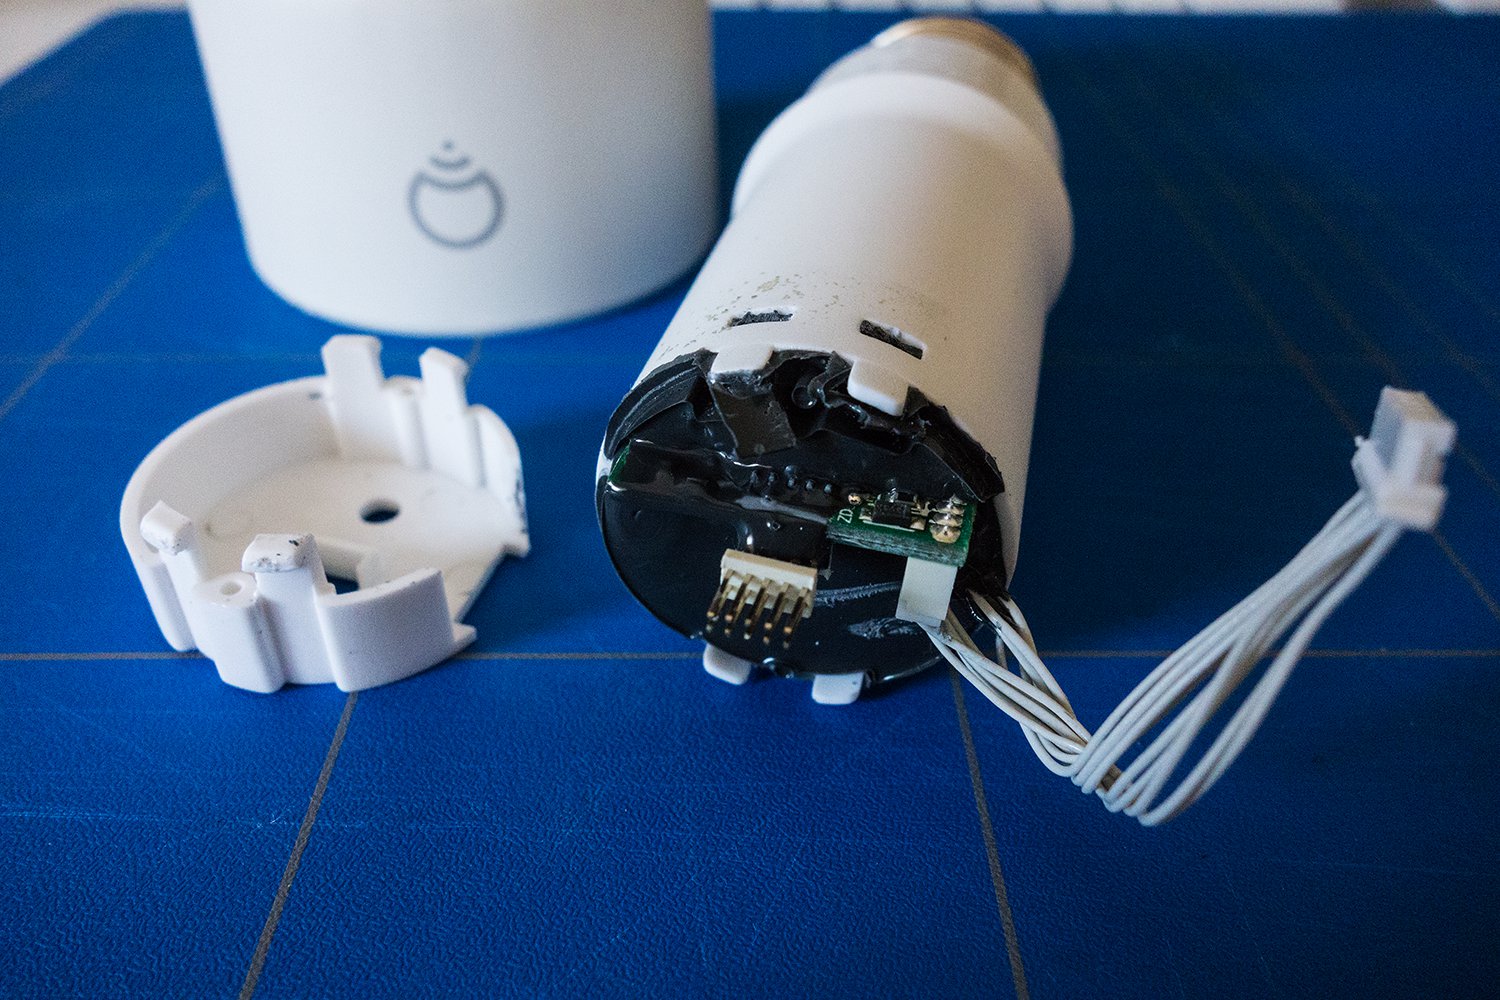
Remove the cap on top of the bulb screw block. Another little electronic board is almost completely covered by a resin/rubber compound.
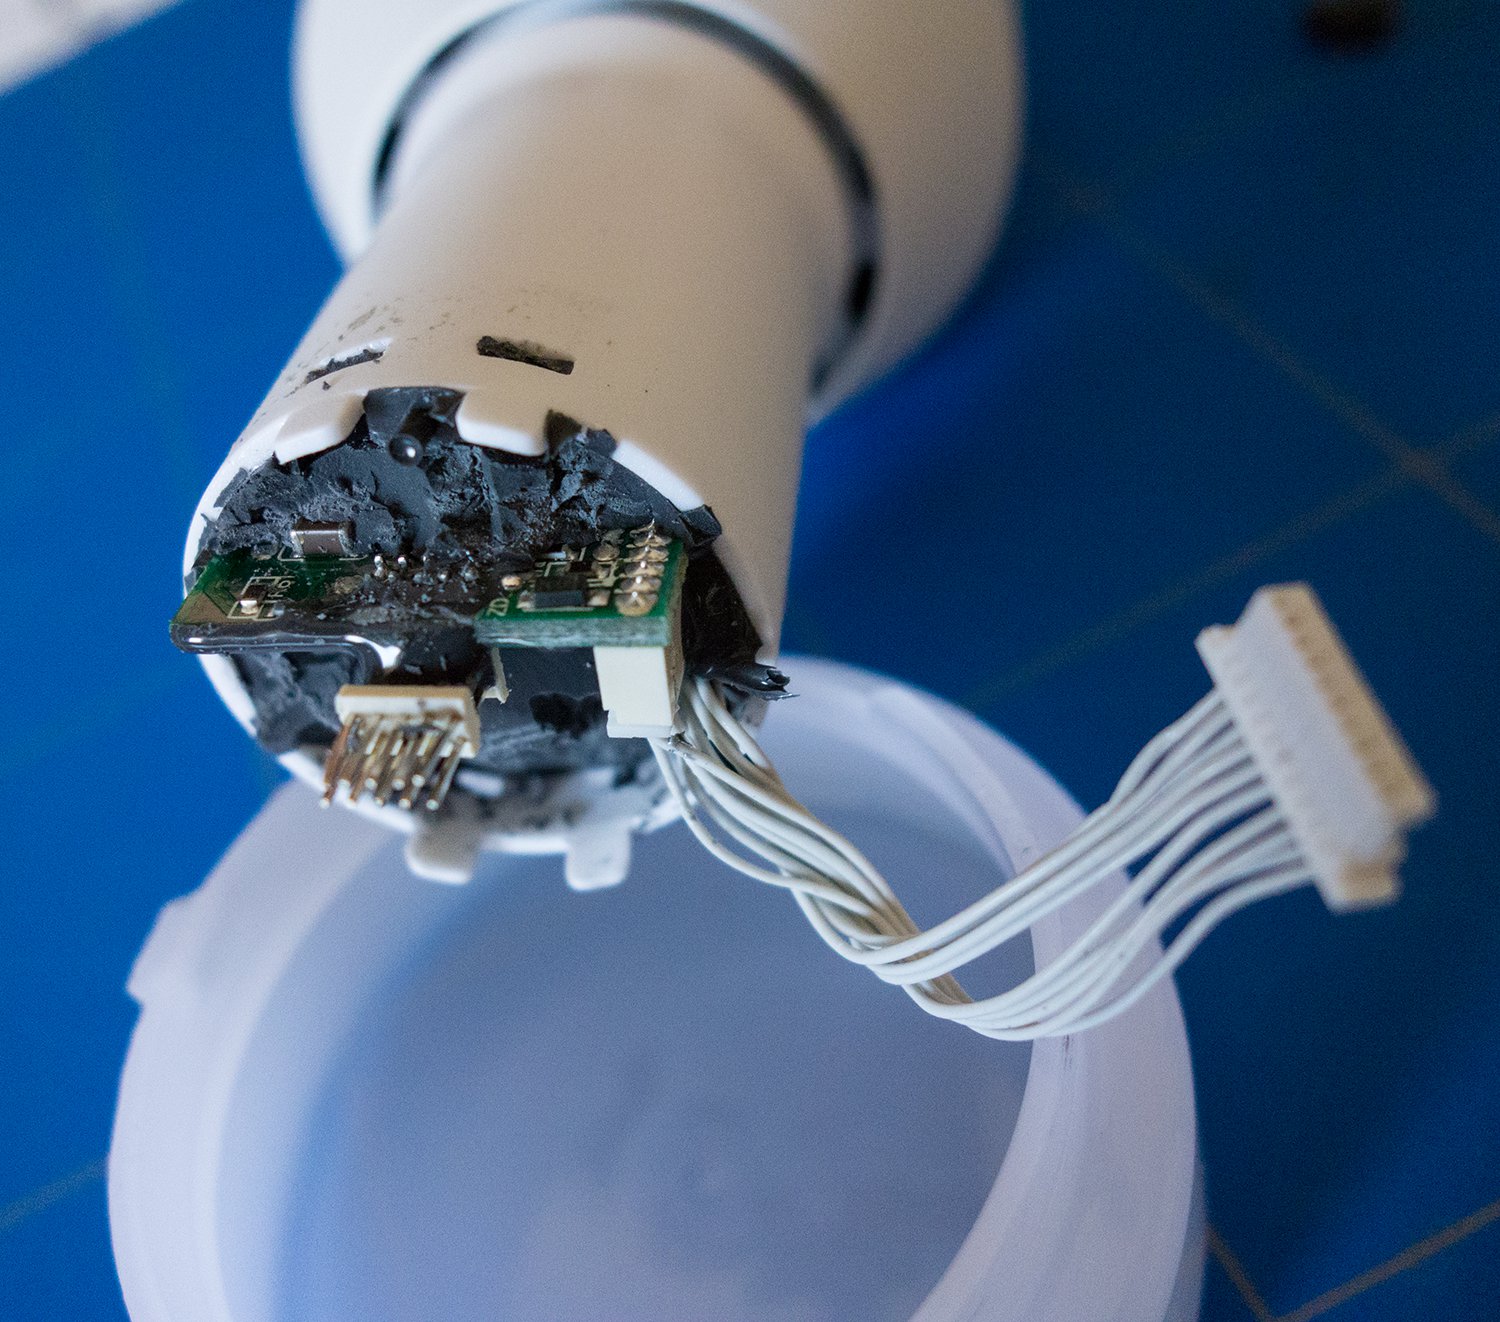
Partially removed resin/rubber surrounding the electronic board.
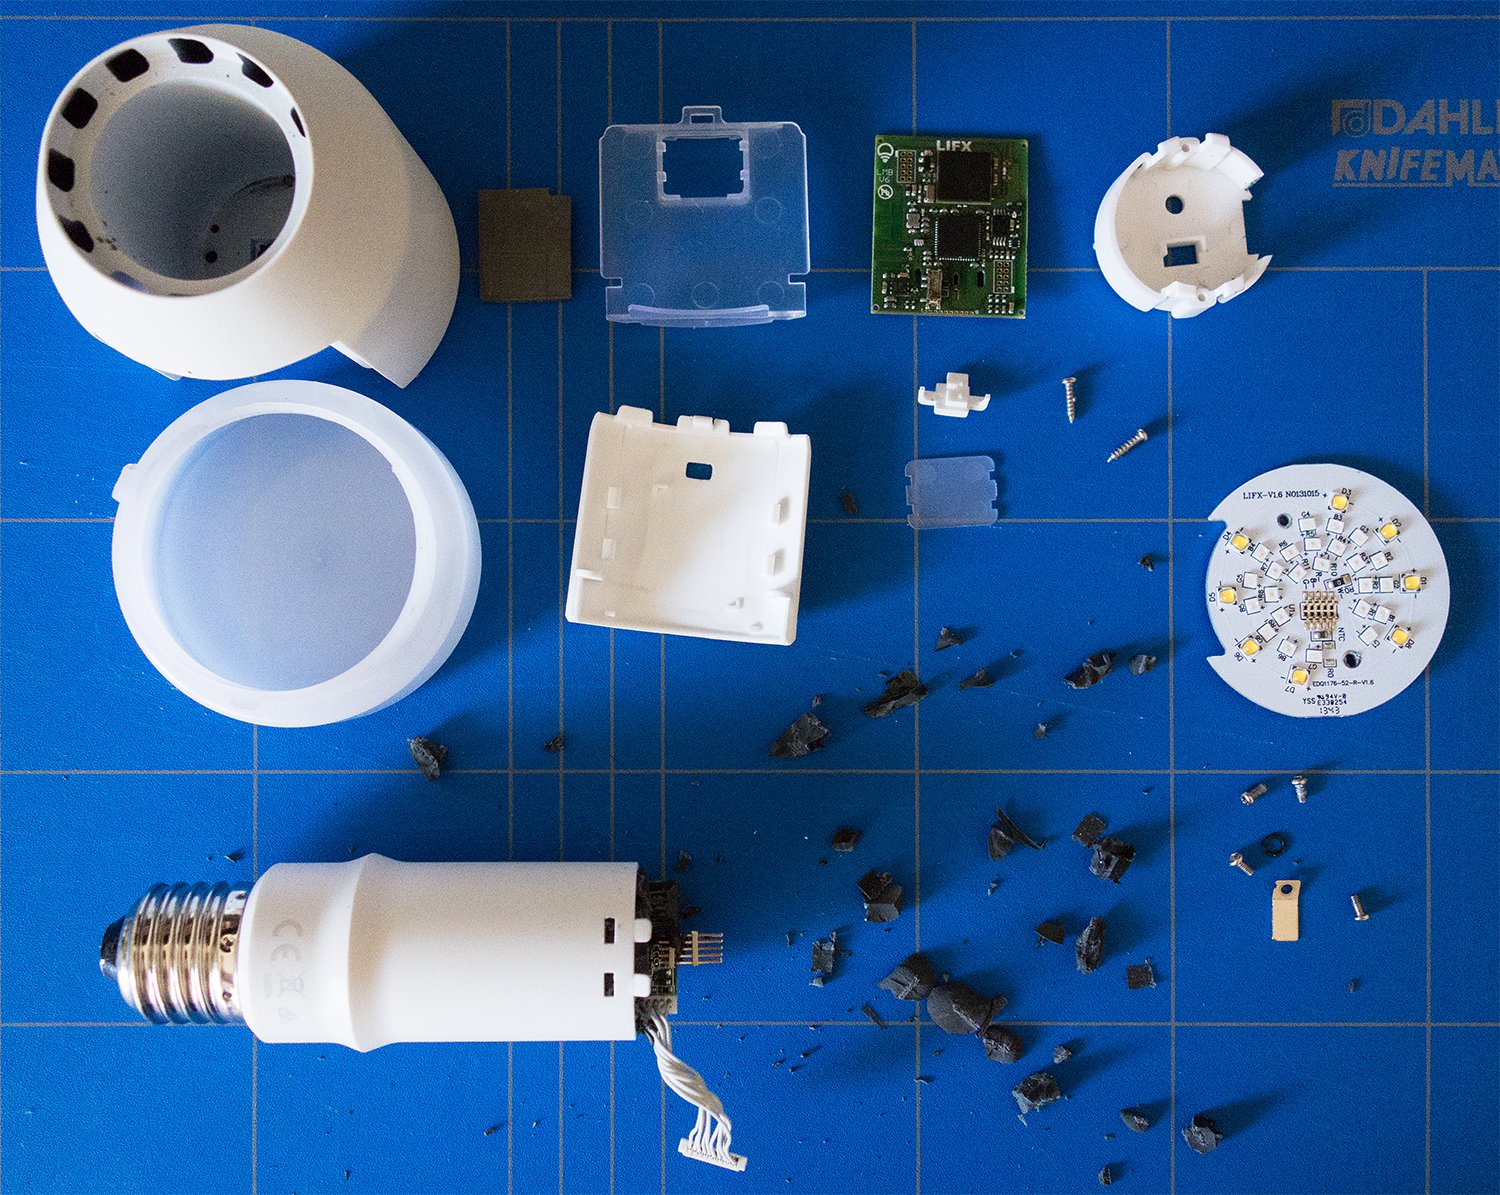
The dissected LIFX bulb.
